How to Install Tape-In Hair Extensions: Professional Guide
Tape extensions look effortless only when the preparation and placement are precise. A tape-in set can add refined length, density, and color dimension, but a rushed application can feel heavy, show through the natural hair, or create tension at the roots. Knowing how to install tape extensions correctly starts with respecting the hair beneath them – not simply adding more hair.
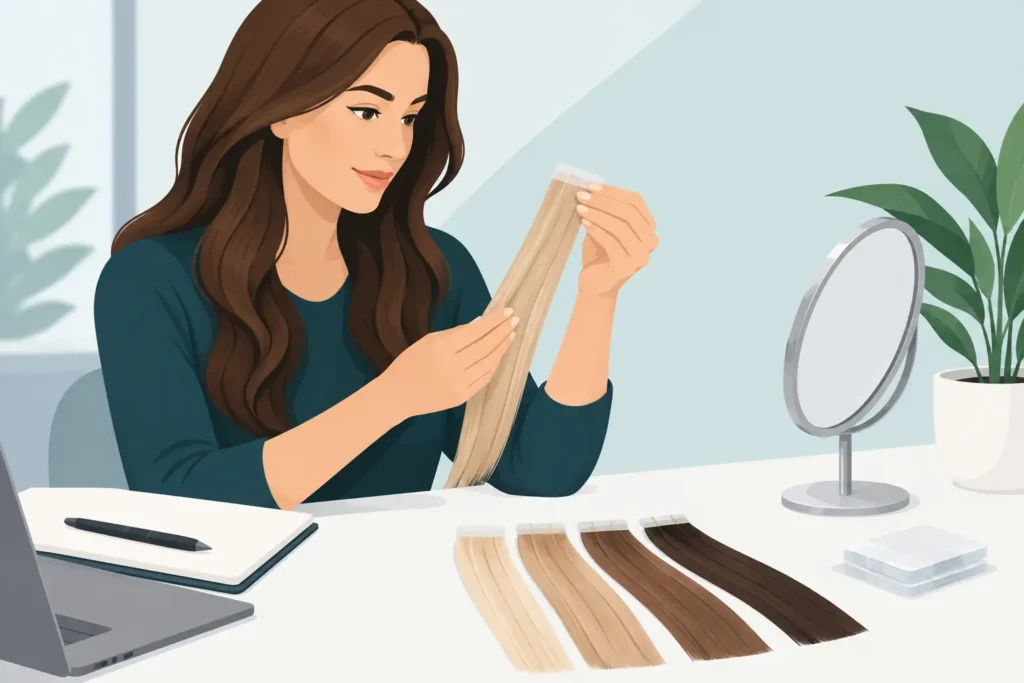
For the most natural result, assess the client’s density, haircut, lifestyle, and usual parting before opening a single adhesive tab. Tape-ins are a professional-friendly method, but they require clean sectioning, balanced weight, and high-quality hair that behaves naturally after washing. If you are new to the method, work slowly and use fewer, well-placed sandwiches rather than trying to create volume everywhere at once.
Start With the Right Hair and a Realistic Plan
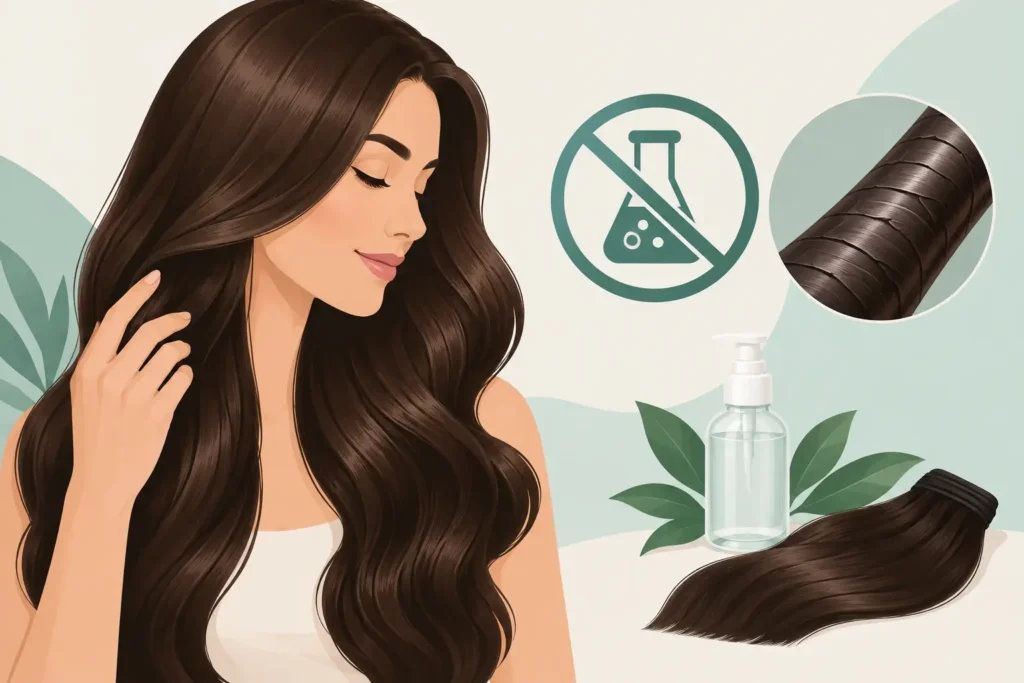
The installation is only as good as the hair and adhesive system being used. Choose high-quality natural human hair with properly aligned cuticles, suitable texture, and consistent density. Virgin hair refers to hair that has not undergone chemical processing, while Remy describes hair with preserved cuticle alignment. These characteristics are not mutually exclusive. Hair that has been heavily coated can look glossy at first but may lose its fluid movement after a few washes. Premium hair should remain soft, manageable, and true to its selected shade with proper care.
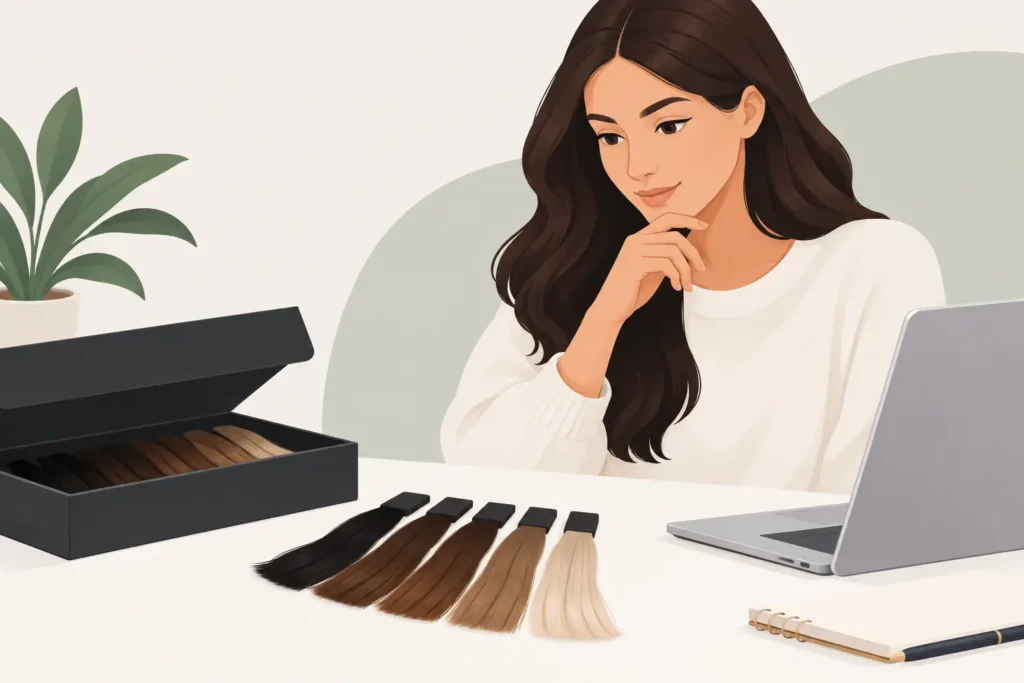
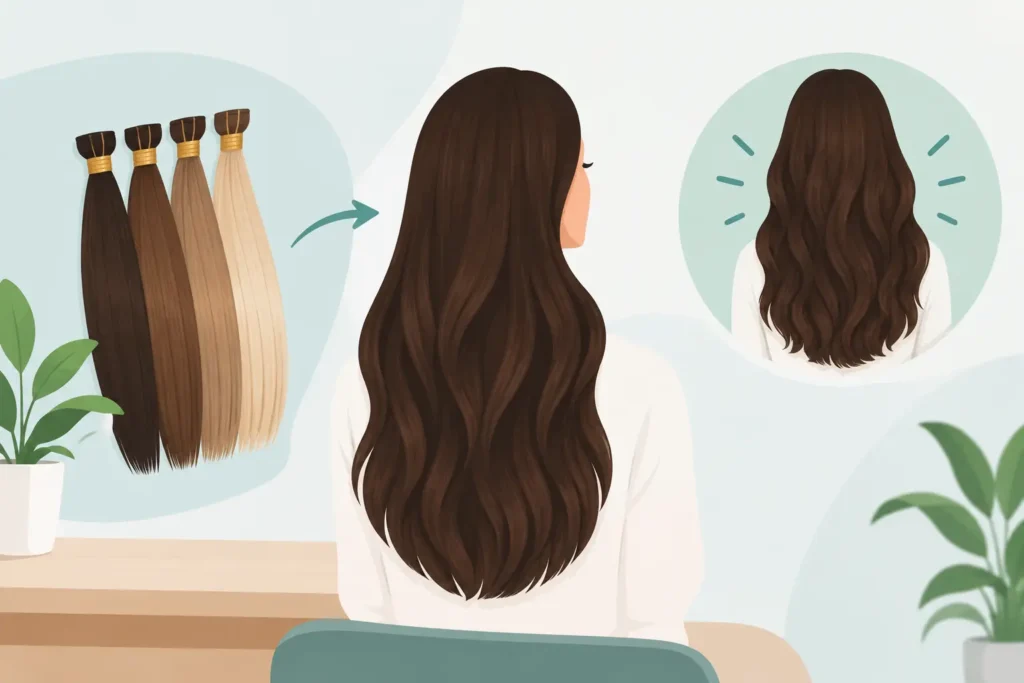
Before installation, decide whether the priority is length, fullness, or both. Fine hair may need a conservative amount of hair and smaller, strategic sections. Medium to thick hair can support more density, but the placement should still blend into the client’s natural perimeter and haircut. A thoughtful plan prevents the common problem of a beautiful extension length paired with an overly thin or visibly disconnected lower edge.
Tape extensions are not suitable for every area of the head. Avoid placing them directly at the hairline, too low at the nape, or where the client frequently wears a high ponytail. Leave enough natural hair around each tab to conceal it during normal movement.
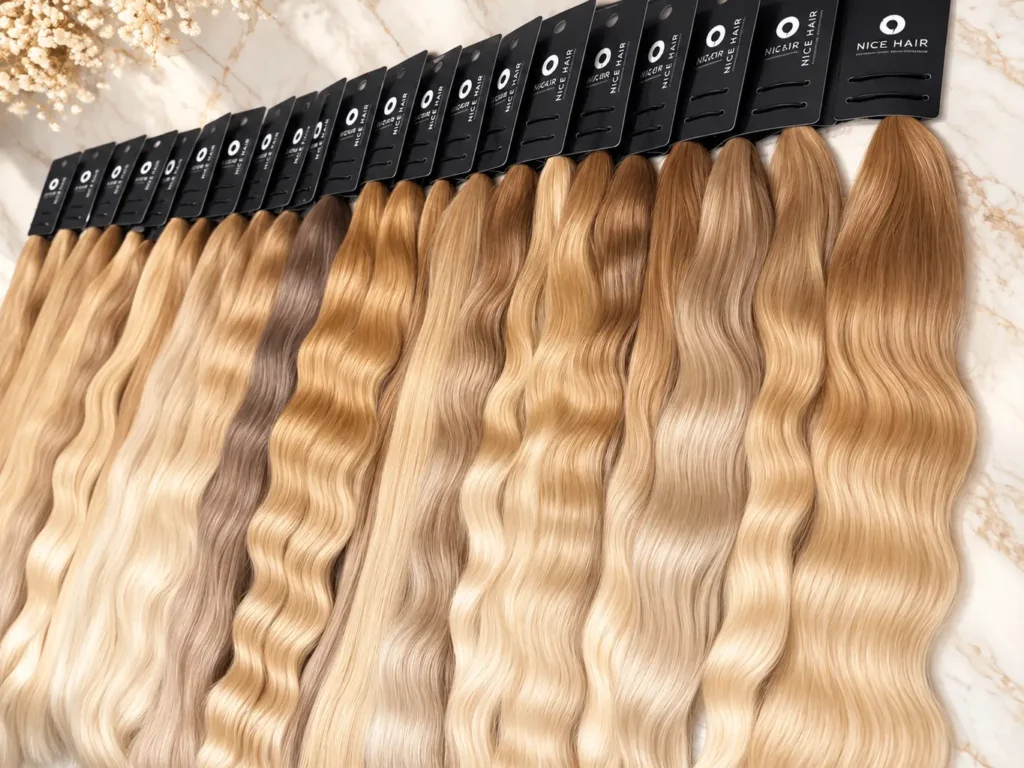
The quality of the extension hair is just as important as the installation technique. For stylists working with professional tape-in hair extensions, choosing the right texture, shade, and density helps create a seamless result. NICE HAIR produces natural human hair in Russia and supplies extension professionals worldwide. If you’re sourcing hair for your next installation, contact our international hair sales team on WhatsApp.
Prepare the Natural Hair Properly
Adhesive needs a perfectly clean foundation. Wash the hair with a clarifying shampoo, concentrating on the roots and mid-lengths, then rinse thoroughly. Do not use conditioner, masks, oils, leave-in treatments, or heat-protecting products before the appointment. Even a small amount of residue can reduce adhesion.
Dry the hair completely and straighten or blow-dry it smooth enough to create clean sections. The natural hair does not need to be flat-ironed into submission, but the roots must be dry and easy to control. If the client has very textured hair, establish their usual finished texture first so the extension placement supports their everyday styling routine.
Take time to map the head. Create a clean horseshoe section above the nape, then work upward in horizontal rows. Leave a generous veil of natural hair along the lower hairline, sides, and crown. This coverage zone is what keeps tape tabs discreet when the hair moves in the wind, is tucked behind the ears, or is styled with soft waves.
How to Install Tape Extensions Step by Step
Each tape-in installation is built around an even sandwich: one adhesive weft above the natural hair section and one below it. The natural hair sits between the two tabs, creating a flat, secure bond.
Begin with a horizontal section that is slightly narrower than the extension tab. If the natural hair section is wider than the tab, the edges may not seal properly. If it is too thin, the sandwich may feel bulky or place too much weight on too little hair.
Position the first tape weft at the distance recommended by the adhesive system manufacturer, leaving enough space for natural movement without placing tension on the roots. The exact distance depends on the tape design, sectioning, and client’s hair characteristics. This spacing matters. Placing a tab too close to the scalp restricts natural movement and can cause discomfort; placing it too low may make the attachment visible or less stable.
Lower the natural hair section onto the adhesive without twisting it. Then position the matching tape weft directly above it, carefully aligning the ends and side edges. The two tabs should meet cleanly, with no stray hairs caught in the adhesive and no gap between the top and bottom pieces.
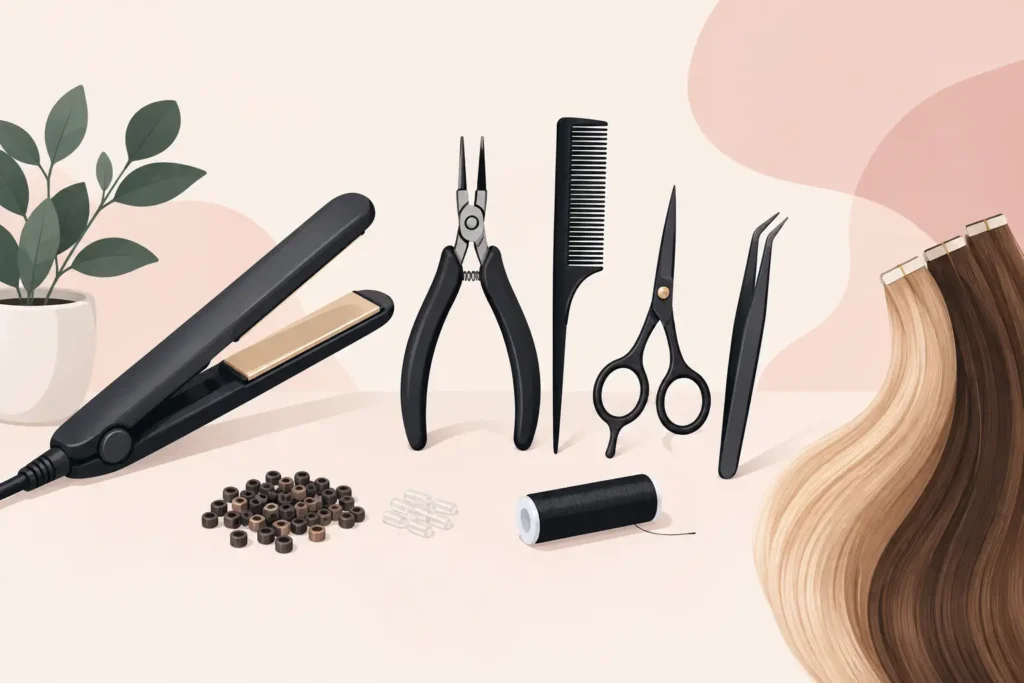
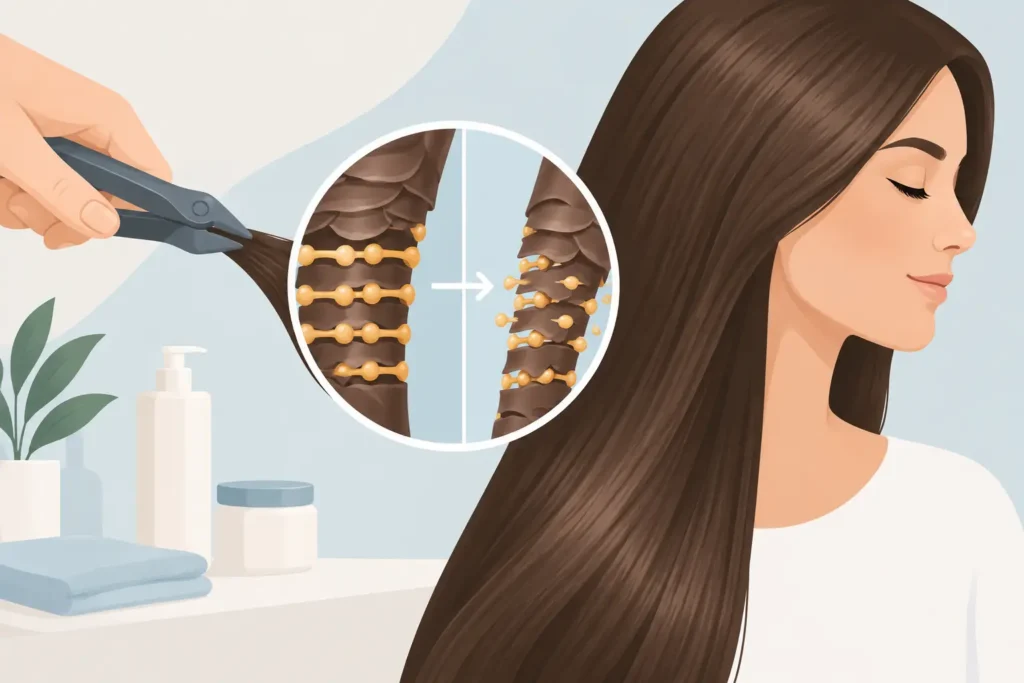
Press the sandwich firmly from the center outward using your fingers. A tape extension tool or flat pliers can add controlled pressure, but do not crush the bond aggressively. The goal is full adhesive contact, not a compressed, rigid attachment.
Continue along the row, leaving a small amount of space between each sandwich so the hair can move naturally. The exact spacing depends on density and the desired finish, but crowded tabs often lead to bulk. Check the row from above and below before moving higher. It is much easier to correct one uneven tab immediately than after the full head is installed.
Build Density Without Creating a Shelf
As you move up the head, avoid stacking every row directly on top of the one below. Staggering placement helps distribute weight and keeps the extensions from forming a visible horizontal line. Around the sides, angle sections gently to follow the head shape and protect the client’s natural parting.
For a softer blend, use shorter pieces higher on the head and longer pieces through the lower back. This mirrors a natural haircut and reduces the need to over-layer the client’s own hair. After all tabs are installed, check the result with the hair worn down, tucked behind the ears, and lifted lightly at the crown.
A tape-in set should feel present but not tight. Ask the client to tilt and turn her head. If a tab pulls, pinches, or sits too close to the scalp, remove and reposition it before styling. Comfort is part of an invisible result.
Blend the Cut and Confirm the Finish
Do not judge an installation before the hair is cut and styled. Extensions and natural hair rarely fall into the same shape without customization, especially when adding significant length. Dry-cutting or point-cutting after installation can soften the transition while preserving the density at the ends.
Use minimal product near the roots during the final style. A lightweight heat protectant through the lengths and a small amount of finishing product can enhance movement, but oils and serums should stay away from the tape bonds. Check the hair in natural light whenever possible, particularly when working with dimensional blondes, rooted shades, or cool-toned color blends.
NICEHAIR approaches this stage as part of the installation, not an extra detail: the shade, density, placement, and finishing cut must work together for the hair to look like it grew that way.
Common Tape-In Hair Extension Mistakes for Beginners
For anyone learning tape-in hair extensions for beginners, the most common installation mistakes involve uneven sectioning, excessive hair between adhesive tabs, and placement too close to the scalp. These errors can affect comfort, attachment security, and how naturally the extensions move. Professional tape-in hair extension training helps stylists understand weight distribution, head mapping, correct placement, and safe removal through supervised practice. At NICE HAIR Academy, education focuses on developing the practical skills needed for confident, precise extension work.
Aftercare Begins at the Appointment
Follow the adhesive manufacturer’s recommended waiting period before washing, swimming, or exposing the attachment areas to excessive moisture and heat. Many tape-in systems recommend waiting approximately 48 hours, although specific instructions may vary by product. This gives the adhesive time to settle fully. After that period, recommend gentle cleansing and careful rinsing, keeping conditioner and masks through the mid-lengths and ends rather than directly over the tapes.
Hair should be brushed two to three times daily with an extension-safe brush. Support the roots with one hand while brushing from the ends upward. This prevents unnecessary tension and helps stop natural shed hairs from collecting around the tabs.
Before sleeping, the hair should be dry and loosely secured in a low braid or ponytail. Sleeping with wet hair can cause tangling and puts stress on both the natural hair and the adhesive. For clients who train frequently, swim, or live in a humid climate, consistent drying at the roots is especially important.
When to Remove and Reinstall Tape Extensions
Tape extensions generally need professional removal and reinstallation as the natural hair grows out. The timing depends on growth rate, home care, placement, and the client’s hair density, but many clients return around every six to eight weeks for evaluation. Waiting too long can make brushing more difficult at the root area and may affect comfort.
Never pull a tape sandwich apart dry. A professional remover is used to dissolve the adhesive gradually, allowing the tabs to slide away without force. The natural shed hair accumulated during wear is then brushed out, the extension hair is cleaned and assessed, and fresh replacement tabs are applied if the hair remains in excellent condition.
The best tape extension work is quiet. It does not announce itself through bulky rows, visible tabs, or uncomfortable tension. It gives the client more options with her own hair – a fuller ponytail, a longer silhouette, and the confidence to move through the day without thinking about what is attached at the root.
A beautiful tape-in installation starts with the right technique and hair you can trust. Whether you’re preparing for your first professional application or sourcing hair for regular salon clients, NICE HAIR can help you select natural human hair based on the length, texture, and color you need. Request available options and international shipping details on WhatsApp.
Frequently Asked Questions About Tape-In Hair Extensions
Can you install tape-in extensions yourself?
While tape-in extensions may seem simple to apply, professional installation is strongly recommended. Correct sectioning, adhesive placement, and weight distribution are essential for a comfortable, natural-looking result. Incorrect application can cause visible attachments, slipping, or unnecessary tension on natural hair. Learning the technique through professional tape-in hair extension training is the safest approach for beginners.
How long does tape-in installation take?
The time required for tape-in hair extension installation depends on the number of tapes, natural hair density, desired length, and complexity of color blending. Adding a small amount of volume generally takes less time than a full-head transformation. A professional consultation helps determine the appropriate number of extensions and provides a more accurate estimate of the appointment duration.
How often should tape-in extensions be moved up?
Tape-in hair extensions typically require professional repositioning as natural hair grows. Many clients schedule maintenance approximately every 6–8 weeks, although the exact timing depends on hair growth, extension placement, adhesive system, and home care. Regular maintenance helps prevent tangling near the roots, keeps attachments discreet, and supports comfortable wear.

Certified hair extension stylists with 14+ years of experience. Own production of virgin Slavic hair, 10,000+ bundles in stock, salon in Dubai. Specialization: keratin extensions, ethical sourcing Russia & CIS, cold color technology.